Calorique® - Infrared Heating Foil Kit width 50 cm, 2,5 m² 220 W/m²
Calorique®- Heating foil is a high quality, certified product at low prices. Calorique LLC is a world leader in electric floor heating systems and infrared heating. Heating foil has been produced in an environmentally friendly process in the USA since 1985 and is also certified there and in Europe. Infrared heating foil is highly conductive, flexible and very durable. The expected lifetime of Calorique® heating foils is 30 years. Calorique® offers 15 years warranty on its products.
Calorique's iQ FlexHeat is a patented infrared heating element that provides maximum efficiency, durability, flexibility, safe application and in a wide range of products. Calorique® technicians use the latest technological developments in a use-defined printing process to produce iQ FlexHeat for specific, infrared heating systems.
Calorique® - Carbon heating foil offers the following very versatile applications:
- Underfloor heating for floor coverings such as laminate, carpet, linoleum, parquet, wood plank and tiles
- Space and apartment heating, heating in commercial rooms, in complete private homes
- Ceiling heating
- Balcony and loggia heating
- Wintergarden heating
- Anti-fog system for bathroom mirror
- Motorhome heater / caravan heater
- Heating for yachts
- Root zone heating in greenhouses
- Snowmelting system
- Heating barrels and tanks
- Heating of special areas (e.g. in Science and Technology)
- Heat for pets / reptiles

With this foil underfloor heating no concrete work is required and the installation is easy to perform. The foil heating can be used directly and regardless of the season. The heating foil is 0.3 mm thick, invisible and can therefore be adapted to any room design. The carrier foil is not flammable!

Economic efficiency
iQ FlexHeat infrared heaters convert ultra-efficiently 99.9% of electricity energy directly into heat. Such high efficiency of fast electricity conversion into heat makes iQ FlexHeat very cost-effective for any type of application.
The surrounding temperature felt to be slightly higher (by 3 - 4°C) than the actual radiant heat. This means that the room climate is just as pleasantly warm at a lower temperature as it would be with conventional heating systems. Such a reduction of the temperature by only 1°C results in an energy saving of 5-6%! The infrared heat warms up all objects, furniture and people in the room. These, in turn, give off the heat into the room. Due to this convenient feature of the infrared heating system, dust turbulence is greatly reduced and the warm air remains evenly distributed throughout the living area. The infrared heat allows to save up to 40% of heating energy!
Advantages
- Infrared radiant heat
- Parallel connecting of elements - in case of mechanical damage, only the affected area is excluded - the heating system is still maintained
- No corrosion
- Equal heat distribution
- Installation also possible as ceiling or in the wall heater
- Can be installed almost everywhere to existing floor coverings in new buildings or in the renovation of old buildings
- Vertical installation possible, also in individual interior elements
Delivery volume
Calorique® set, with heating foil 50 cm wide, 90 / 150 / 220 W/m² - 0.5 - 24 m², 3M electrical insulation, stranded wire and clamps for power connections (as indicated in the table below), instruction manual.
Mounting instructions:
Define the shape of the heating surface
When measuring for underfloor heating with Calorique® heating foil, it is essential to ensure that no furniture, household appliances or other objects are placed on the heated surface without standing on feet! The stripes of Calorique® heating foil may under no conditions be even partially covered by skirting boards, superstructures and other decorative parts! Complete covering of heating foil stripes can lead to overheating. It is best to lay the foil stripes along the room to reduce frequent cuts and line connections.
Lines that may be laid above the floor must be laid at a distance of at least 50 mm from the heating foil and the connections. For this purpose, this area must be filled with thermal insulation material. The distance between foil stripes and heat sources must be at least 200 mm. By other heat sources are meant, for example, heat conduction, additional radiators, fireplace, chimney, oven, etc.
Preparing the Calorique® heating foil stripes
The heating foil will be cut with scissors along the dotted line. It is strictly forbidden to cut the foil in other areas! Attach the connector clamps according to the illustration to the prepared foil stripes.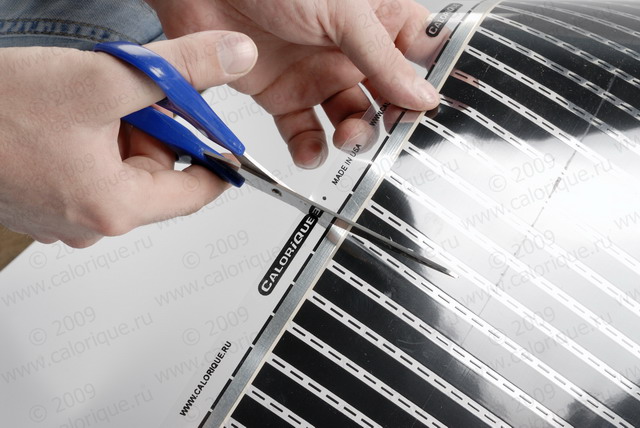
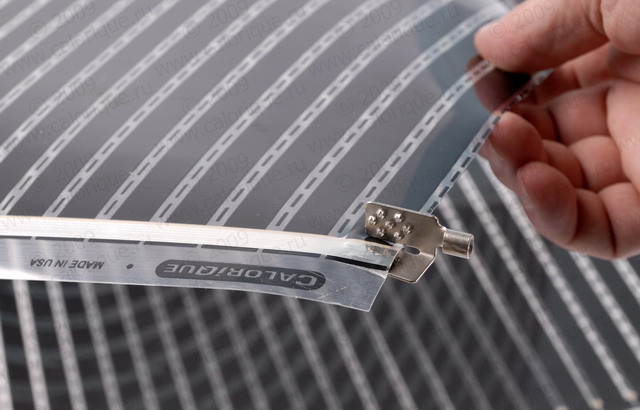
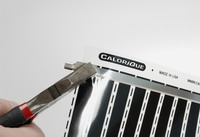
You can fasten the clamps with flat-nose pliers, a hammer or a special tool. Then check the contact strength. Insulate the guide rails from the other side of the stripe by using the insulating tape provided for this purpose from the Calorique® set.
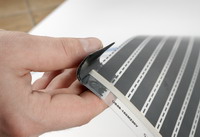
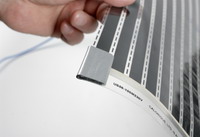
Prepare the electrical cables, with a cross-section of at least 1.0 mm
2, from the Calorique® set for connection to the mounting clamps or heating foil according to the illustration.
Attach the stripped wire end to the connector terminals using flat-nose pliers. Insulate the electrical connection with the self-adhesive insulating tape from the Calorique® set.
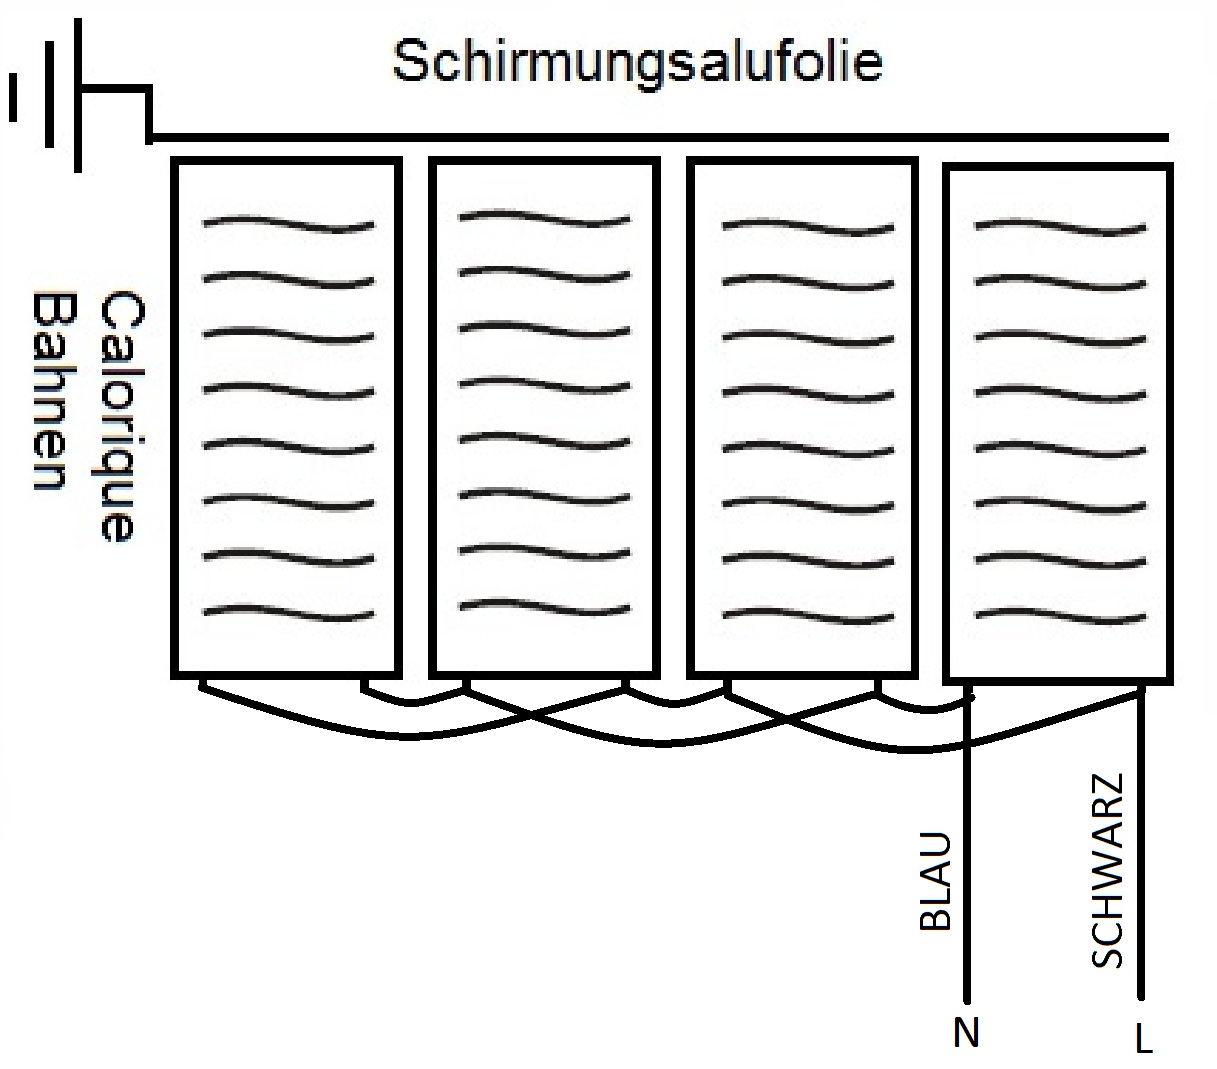
Individual heating stripes are connected in parallel. For areas larger than 10 sqm, the phase and zero connections on the adjacent stripes must always change sides to avoid induction on the shielding foil. The maximum stripe length is given in the "Technical data" table..
The maximum total power of heating foil stripes connected to a thermostat may not exceed 3200 W! However, if the total consumption is higher than 3200 W, it is recommended to install an additional circuit with its own fuse. The heating stripes can then also be connected to the thermostat by using a magnetic switch..
Laying
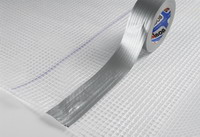
In case of possible moisture, cover the subfloor, which must be free of bumps or sharp elements, with polyethylene film. For fixing, use the adhesive tape. The edges of the film must overlap eachother 20 cm. Cover all areas as thermal insulation for underfloor heating completely 3 mm thick with the foam film and fix it with the adhesive tape.
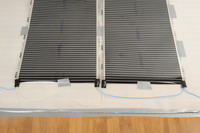
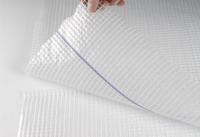
On top of the thermal insulation layer, place the Calorique® heating foil with the guide rails facing up. If the heating elements are positioned correctly, all labels should be readable. Secure the heating foil by using adhesive tape, furniture nails or a staple gun to prevent it from slipping during further work.
ATTENTION! Attach the heating foil only at the edges through the transparent stripe. The fastening may not be closer than 6.4 mm in distance to the silver guide rails. For electrical connections, cutouts are made in the thermal insulation layer for surface compensation.


Visual inspection
Inspect the heating system visually after installation, as well as the insulation and contact fasteners. During a visual inspection, the foil stripes should be checked for possible traces of damage that could happen during installation. If any part of the stripe has ever been damaged, the complete stripe must be replaced.
Electrical test
The electrical test must be performed using a connection cable to check the correctness of the electrical connections. The permissible resistance value for 240 V can be determined with the following formula:
Upper resistance limit= 63360 / built-in watts
Lower resistance limit = 54720 / built-in watts
Check the measured value based on the execution below.
RESISTANCE VALUE
Between upper and lower resistance limit:
Ok, everything is fine: no further actions are necessary.
Higher than the upper resistance limit:
Open Circuit. Check all connections and repair anything that is required.
Zero(0): Short circuit:
Check all connection cables for possible damage. Foil stripes with damaged busbars must be replaced completely..
After repairs of any kind, the electrical test should be performed again. All this work must be carried out with the maximum care to avoid possible damage to heating elements.
Temperature sensor
Cut a matching hole in the insulation layer and attach the temperature sensor at a distance of 1 - 1.5 cm from the heatable part of the heating foil. (S. Fig.)
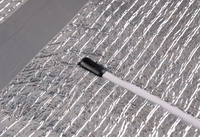
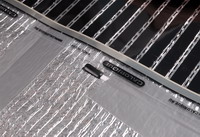
Connect the heating elements to the thermoregulator and switch it on. After a few minutes, the foil should become pleasantly warm..
Cover the heating surface with polyethylene vapor barrier film, about 140 - 300 g/m² tight (200 µ or more), by using the adhesive tape to help. The edges of the vapor barrier film must overlap by 20 cm.
Laying floor covering
Over the aluminum foil is laid the floor covering or an intermediate layer of chipboard and so on.
Laminate, parquet, wooden plank Place the laminate, parquet, wooden board directly on the heating foil according to the manufacturer's instructions. Enjoy a comfortable warm floor.
Carpet, linoleum, tilePlace an intermediate layer of plywood, chipboard or similar on the heating stripes; this intermediate layer should be fixed with screws in the floor and level the final layer. The screws may only be fixed to the heating foil through the transparent edge strips. The minimum distance between the screws and current conducting elements, including silver busbars, is 6.4 mm.
The floor material is then laid on the intermediate layer according to the manufacturer's instructions.
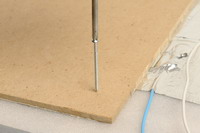
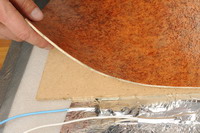
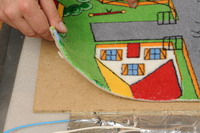
Warming floor with integrated floor heating is now ready. If on the heated surface is not planned to place furniture, it is also possible to lay carpet or linoleum directly on the heating foil - without an intermediate layer
